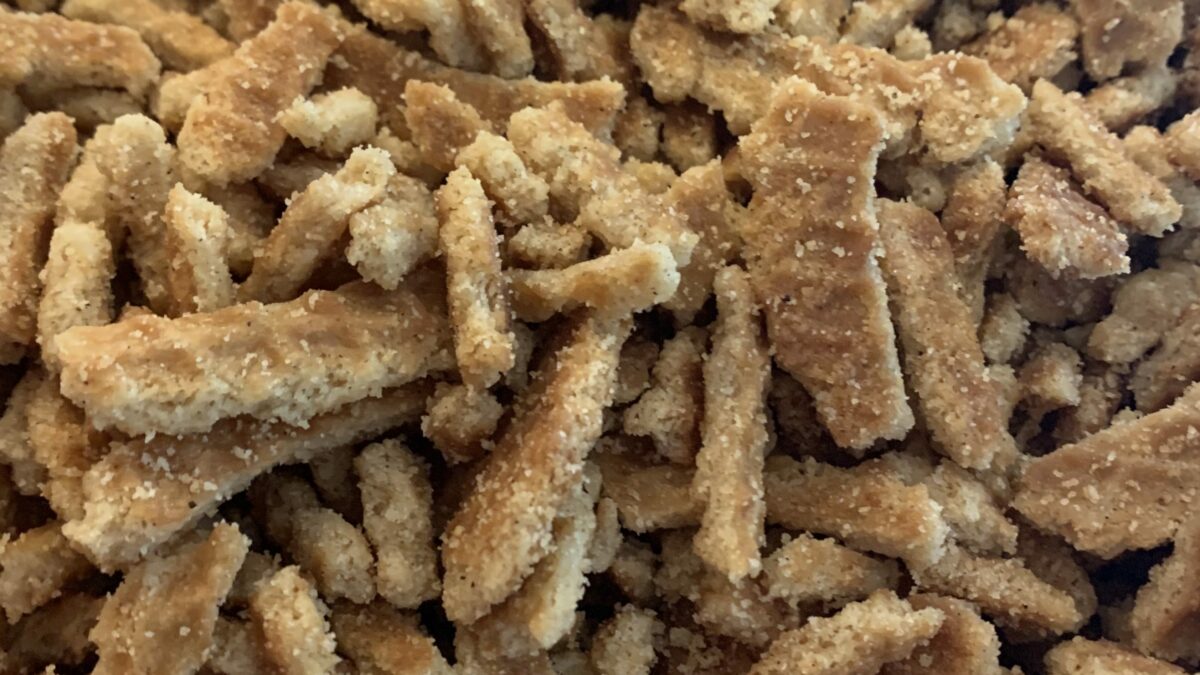
Most people are familiar with a few different types of pie crusts. However, not very many Americans know about how to use stroopwafel Snippers to make pie crust. They don’t know what they are missing. It’s one of the best, if not the best pie crust. It’s especially desirable for holidays and special occasions.
One reason it is the best is that the stroopwafel taste is unique. There’s a buttery crunch and a hint of caramel when eaten alone. All of this goodness turns into something different and wonderful when made into a pie crust. We recommend using our snippers to achieve the right consistency.
You can use this pie crust as if it were a graham cracker crust. Yet almost no one ever has called a graham cracker something exciting or unique to eat. The crusts are good, but never surprising. A stroopwafel crust is absolutely a surprise, and a good one!
Another reason that a stroopwafel crust is a better choice is that it cannot be bought. You simply can’t go to the grocery store and purchase a premade pie crust like this. It truly is something that you have to make yourself. That uniqueness is sure to impress family and guests. They’ll know you went to extra trouble. Just don’t tell them how easy it really was!
Here’s what you need to know to make what we think is definitely the best pie crust ever!
What You’ll Need for a Stroopwafel Pie Crust
To make this crust, you don’t need the stove, and you may not need the oven, but baking is always easier with the right baking station. However, you may set your oven to 325°F to par-bake the crust for many no-bake pies. If you are baking a pie, just set it to the recommended temperature. For frozen pies, you probably won’t bake it all.
You’ll need a 9-inch pie pan that will be greased or lined with parchment paper. A food processor or similar chopper (not a blender) is good. The alternative is a bag and a rolling pin.
Pie Crust Ingredients
Bag of Snippers (or 6 to 8 stroopwafels)
6 tablespoons butter or margarine
2 to 3 tablespoons sugar (prefer brown, but could be white, or combination)
Step by Step Pie Crust Instructions
Step 1. Soften Butter
Before you begin, you should measure out the butter and allow it to come to room temperature. It will be easier to use.
Alternately you can run in the microwave for 5 seconds tops. This will get it soft but hot. In this case, let it cool before working with it.
Step 2. Crush the Cookies
In the food processor, add stroopwafels or stroopwafel snippers and grind into crumbs. Your goal should be 1 ½ cups of crumbs per pie crust.
If you don’t have a chopper like this, you can put the stroop in a bag and use a rolling pin to crush them. If you have kids, they’ll love helping with this step.
Step 3. Combine ingredients
In a large bowl, mix the butter and sugar in with the crumbs. The natural taste of the stroopwafel is enhanced more by brown sugar than by white. That’s why this recipe recommends brown sugar, but you can use whatever sugar you have on hand.
You’ll know you are done when the crumbs are wet enough when you can roll a ball in your hand. Once it is thoroughly mixed, it’s time to go to the next step!
Step 4. Prepare the Pie Pan
If you plan to bake the crust, you may want to use parchment paper or grease the pan to ensure that your crust comes out cleanly.
Step 5. Form the Crust
Using clean fingers, press the mixture into the pie pan until it is spread evenly across the bottom. Use the rest to form a crust along the sides of the pan.
To ensure that the mixture is even, you can use a press or a flat-bottom measuring cup to ensure it is even. The goal is to achieve a compact, uniform layer across the entire pie pan and its sides.
Step 6: Finish the Crust
There are three ways you can finish this stroopwafel crust. It depends on the type of pie you are making. So keep reading to see three ways to make this pie crust work for your needs.
Three Ways to Finish the Pie Crust
1. Par-Bake the Crust
If you are making a no-bake pie, you may par-bake the crust for 10 to 15 minutes at 325°F, taking care not to burn the edges. Once done, refrigerate the crust to cool it before adding the ingredients for your no-bake pie.
2. Freeze the Crust
Alternatively, you may want to freeze the crust for 15 to 30 minutes. This allows the crust to firm up without baking. Then you can add the cool or cold ingredients for a refrigerated or frozen pie.
3. Bake the Crust while Baking the Pie
If you are baking the pie, you simply add ingredients for a baked pie or cheesecake. To prevent the edges from browning too much, you can cover them lightly with aluminum foil for all but five minutes of the pie’s baking time.
More Information About Making the Best Pie Crust
Now that you know how to make it, which pies will you make with this special crust? There are so many no-bake recipes out there. You can choose one and make it a new favorite.
If it normally has a nut-based or graham cracker pie crust, you can swap it for the best crust of all — stroopwafel snippers. This type of cold pie relies on a central ingredient such as cream cheese, ice cream or whipped topping. A lemon icebox pie or a chocolate mousse will taste even better with this stroopwafel pie crust.
You can also use it to bake holiday favorites such as sweet potato, pumpkin or pecan. One way to experiment with this pie crust is to add a spice that compliments your pie. Cinnamon and vanilla are two common choices.
Furthermore, this pie crust provides a wonderful accent to an open-faced fruit pie, whether it’s cherry, apple, blueberry, blackberry, raspberry or a mix.
In many cases, you’ll want to crumble up some remaining stroop and use it as a loose topping on your finished pie.


